
In a world where technology seems to advance at lightning speed, building gadgets has become the ultimate playground for the curious and creative. Whether it’s a quirky robot that fetches snacks or a smart plant pot that reminds you to water your basil, the possibilities are endless. Who wouldn’t want to impress friends with a homemade device that’s equal parts genius and a little bit ridiculous?
Understanding The Basics Of Building Gadgets
Understanding foundational principles in electronics enhances gadget-building skills. Mastery of these concepts opens doors to creativity and innovation.
Importance Of Understanding Electronics
Grasping basic electronics is crucial for successful gadget building. Knowledge of circuits enables effective component selection and assembly. Comprehension of voltage, current, and resistance informs design decisions. Familiarity with sensors and microcontrollers broadens project possibilities. Designers often explore functionality, thus encouraging experimentation with different configurations. Continuous learning ensures adaptation to emerging technologies in electronics.
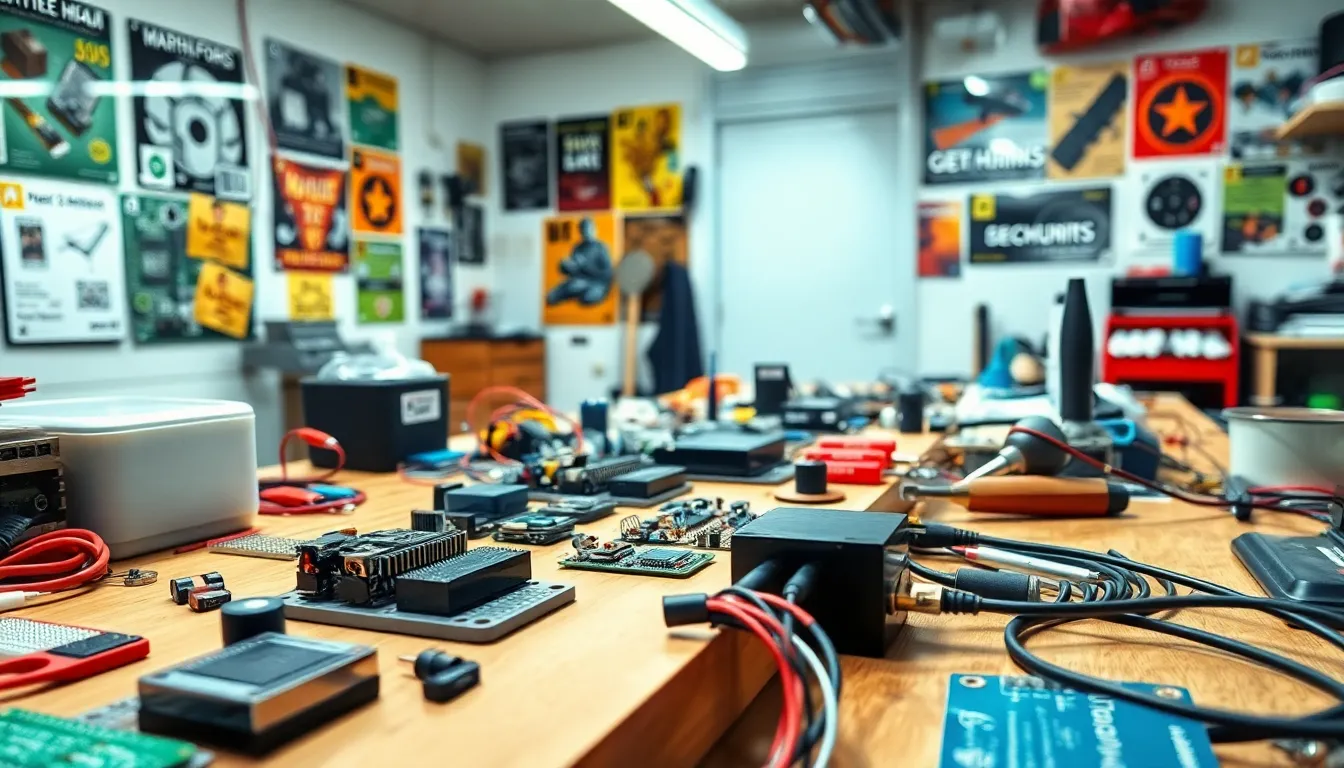
Essential Tools For Building Gadgets
Utilizing the right tools simplifies the building process. Soldering iron facilitates secure connections between components. Multimeters aid in measuring voltage, current, and resistance accurately. Breadboards allow for easy modifications and quick testing of circuit designs. A variety of wire cutters, strippers, and pliers enhance precision during assembly. Access to a computer with design software speeds up prototyping and simulation. Having a well-organized workspace promotes efficiency and focus during the creation process.
Choosing The Right Components
Selection of the right components is crucial for successful gadget building. Each component influences the gadget’s functionality, performance, and ease of assembly.
Selecting Microcontrollers
Microcontrollers serve as the brain of gadgets. Popular options include Arduino, Raspberry Pi, and ESP8266. Arduino offers user-friendly programming and extensive community support, while Raspberry Pi provides greater processing power for more complex tasks. ESP8266 excels in projects requiring Wi-Fi connectivity. Evaluating project requirements will help determine the most suitable microcontroller for specific applications.
Types Of Sensors And Actuators
Sensors and actuators play key roles in gadget operation. Common sensors include temperature sensors, motion detectors, and light sensors. Temperature sensors measure environmental heat, while motion detectors enable automated responses to human activity. Light sensors adjust brightness levels based on ambient light. Actuators such as servos and motors control movement and display capabilities. Choosing the right combination of sensors and actuators will enhance functionality and interactivity in gadget designs.
Designing Your Gadget
Designing a gadget involves careful planning and creativity. Creating a solid foundation leads to innovative solutions.
Developing A Blueprint
A blueprint serves as a roadmap for gadget development. Sketching the gadget’s design helps visualize its structure and components. Including dimensions and specifications ensures clarity. Detailing the layout of electronics and wiring promotes organization. Utilizing software tools can simplify the design process, offering 3D modeling options that enhance precision. He or she can also incorporate user interface elements, considering usability and accessibility as key factors. The clearer the blueprint, the easier it becomes to transition to the building phase.
Prototyping Techniques
Prototyping allows for practical exploration of ideas. Selecting materials for prototypes varies based on the project’s needs. Building a simple version of the gadget helps identify potential issues early. Using breadboards enables quick changes in circuits, fostering experimentation. Testing components in real-world conditions uncovers performance insights. Rapid prototyping techniques like 3D printing or laser cutting expedite development. Gathering feedback from test users highlights areas for improvement. Each iteration brings the gadget closer to its final form.
Assembling And Testing Your Gadget
Assembling and testing gadgets requires careful attention to detail and systematic steps for successful outcomes. It’s essential to follow instructions closely while making room for creativity.
Step-By-Step Assembly Guide
- Gather tools and components before starting the assembly process.
- Read through the project’s blueprint to understand the circuit layout and component placement.
- Connect the breadboard or circuit board wiring, ensuring each wire is securely attached.
- Insert components into their designated positions, checking for correct orientation.
- Solder connections if necessary, making sure the solder melts evenly to avoid cold joints.
- Power up the circuit after assembly is complete to ensure functionality.
- Test individual components for performance, documenting any discrepancies for troubleshooting.
Troubleshooting Common Issues
- Check power supply connections if the gadget doesn’t power on.
- Inspect solder joints for any loose or cold connections that might disrupt functionality.
- Review circuit paths for incorrect wiring, ensuring each component aligns with the blueprint.
- Replace malfunctioning sensors or actuators, especially if they fail to respond as expected.
- Verify the microcontroller’s programming to ensure code compatibility with the hardware components.
- Consult user forums or troubleshooting guides when persistent issues arise for additional insights.
- Test the gadget in different conditions to ensure reliability across various environments.
Showcasing Your Gadget
Showcasing a gadget involves both documenting the creation process and sharing the final product with the community to inspire and receive feedback.
Documenting The Process
Documenting the building process creates a valuable resource for others. Photographs capture each phase from initial sketches to final assembly and testing. Videos provide dynamic insights into functionality, showcasing features and troubleshooting methods. Written notes add context, detailing decisions made along the way and challenges encountered. These records serve as learning tools for both the creator and aspiring builders who may want to replicate or improve upon the design.
Sharing With The Community
Sharing gadgets cultivates a sense of community and fosters collaboration. Online platforms such as forums and social media allow inventors to present projects and engage with enthusiasts. Participation in maker fairs and local meetups provides opportunities to display inventions in person, attracting curiosity and feedback. Through this interaction, builders can exchange ideas and suggestions that drive innovation. Encouraging feedback from diverse audiences often leads to meaningful improvements and new project ideas, keeping the creative process fresh and exciting.
Building gadgets offers a thrilling opportunity to blend creativity with technology. By understanding the essential principles of electronics and mastering the right tools, anyone can embark on their gadget-building journey. The design and assembly processes encourage innovation and problem-solving, making it a fulfilling experience.
Sharing creations within the community not only fosters collaboration but also inspires others to explore their own ideas. As technology continues to evolve, so do the possibilities for gadget builders. Embracing this dynamic landscape opens doors to endless exploration and discovery. Whether for fun or practical use, the world of gadget building awaits those ready to dive in and make their mark.